
 by
by Index
Why a cloud solution?
In a previous article , I strongly suggested that you use Jupyter to design and work on your machine learning models. Of course I have not changed my mind, quite the contrary. Nevertheless Jupyter as it is has a big drawback: it must be installed! Of course with Anaconda, no worries you just have a button to click.
But unless you have a war machine at your disposal (lucky that you are) you will need some power whenever you go dealing with high volumes. What’s more, not everyone has GPUs at their disposal!
In short, a simple answer is to move towards a Cloud solution!
In this regard you will have some solutions available to you to do Jupyter in cloud mode. How about using a 100% free solution? well I highly recommend Google Colaboratory.
Google Colab in brief
Collaboratory is a Google incubation project created for collaboration (as the name suggests), training and research related to Machine Learning. Collaboratory is a Jupyter notebook environment that really doesn’t require any configuration and runs entirely in the Google cloud.
One constraint: Collaboratory notebooks are saved in Google Drive and can also be shared like Google Docs or Sheets documents. A GitHub gateway (maybe not for long) is also available.
Of course Collaboratory is available for free, you just need to have a Google account.
For more information on Collaboratory I invite you to go to the FAQ .
What’s really great is that you can use a GPU for free for 12 hours (continuous use)!
Getting started with Google Colab
Ok, type in your browser the URL: https://colab.research.google.com/
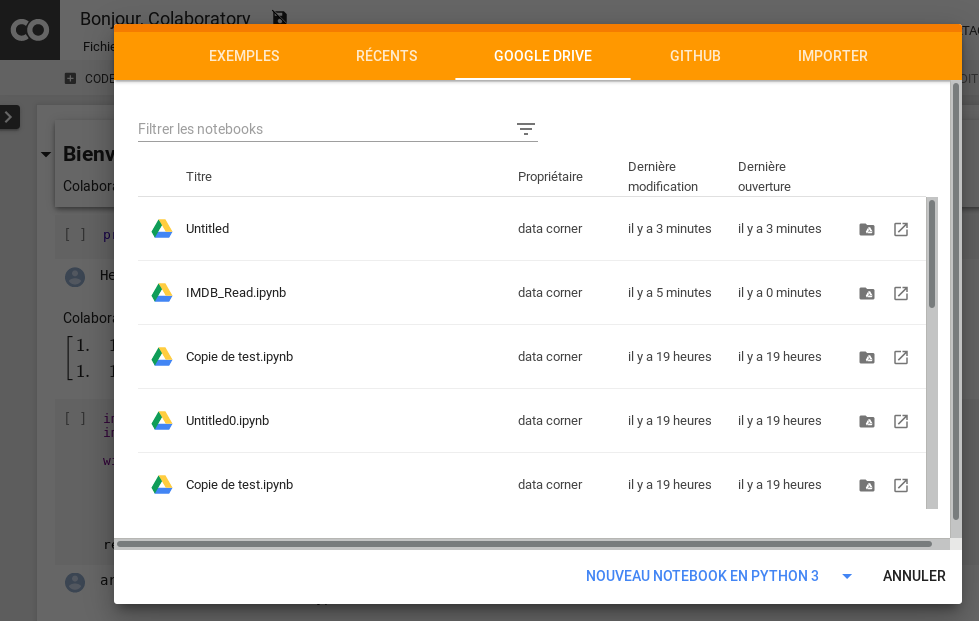
Quickly Google Collaboratory offers you either to create a notebook or to get one from Google Drive or Github, or to upload one directly from your computer:
You even have some interesting examples to consult to get the most out of the tool.
So create a notebook or do like me get one from Google Drive. Good news about Jupyter notebooks are of course compatible with Google Colaboratory.
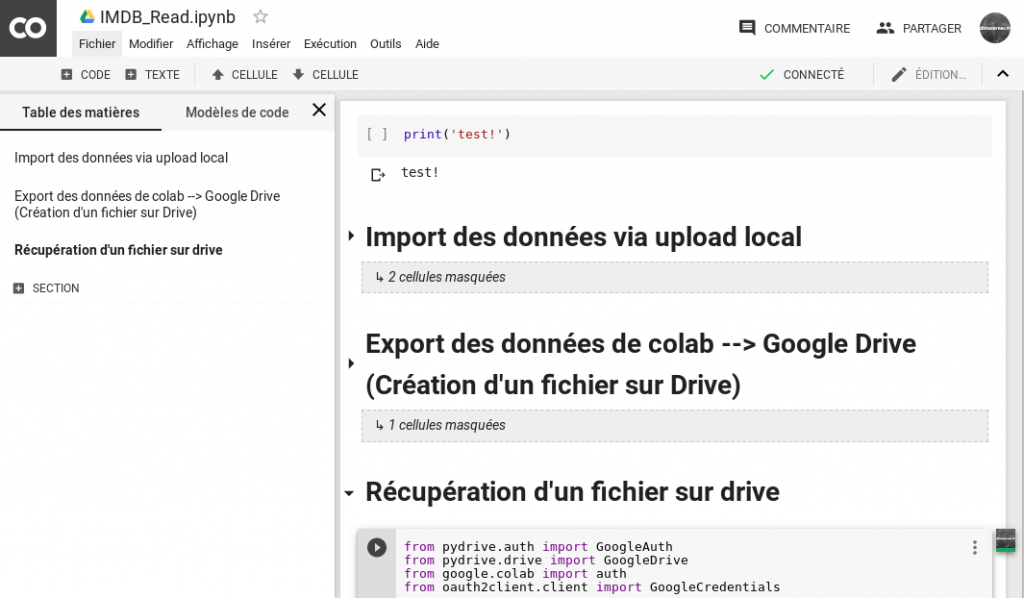
Getting started is quick for those who are already used to Jupyter. The environment is almost identical except for a few tricks and other small added features (and very useful for that matter).
Just a catch: the data files!
And yes we were in a sweet dream until then. If the world of the cloud does indeed make life easier on the installation side and more generally machine power, there remains a problem:
You have to be able to interact with the rest of the world, and therefore be able to read / write flat files at a minimum!
It seems to be just common sense indeed. Unfortunately this is not the most fun part of the solution. I told you your notebooks are stored in Google Drive. That’s one thing, now data can come from multiple places. In the context of this article, I suggest you place your files in Google Drive. We will see how to retrieve them in Google Colaboratory… because unfortunately it is not automatic!
You will find several examples and ways of doing it (via PyDev, API, etc.) in examples provided by Google . Despite these examples I had a hard time in the file recovery phase. Here’s how to do it easily with PyDev.
Downloaded a file from Google Drive -> Colaboratory
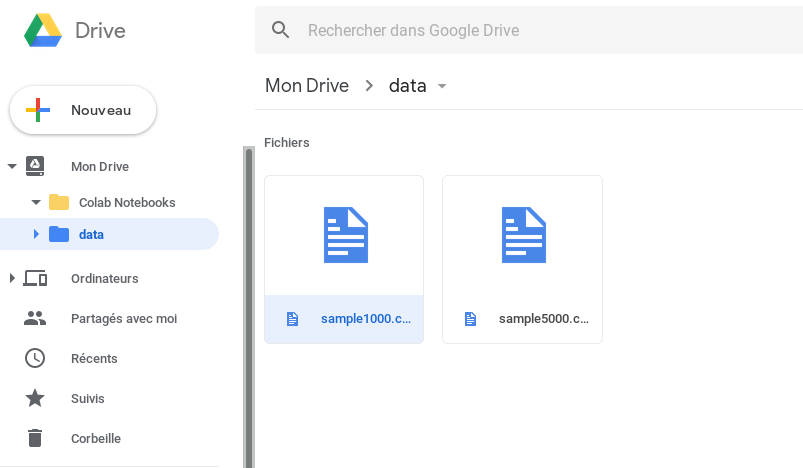
First of all I have a file (here sample1000.csv) placed in Google Drive:
To be able to retrieve this file I need its Google ID, here’s how:
- Right click on the file
- Choose Get Shareable Link from the drop-down menu:
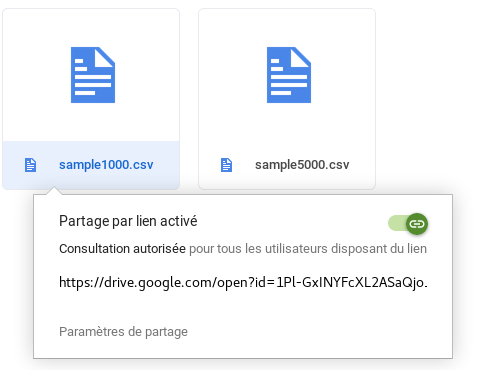
- Copy the URL. but only get the id.
NB: For example, we will only recover the part in bold here: https://drive.google.com/open?id= 1Pl-GxINYFcXL2ASaQjo_BFFiRVIZUObB
Now back to our Notebook, enter this code in a cell
from pydrive.auth import GoogleAuth
from pydrive.drive import GoogleDrive
from google.colab import auth
from oauth2client.client import GoogleCredentials

# Authentification Google
auth.authenticate_user()
gauth = GoogleAuth()
gauth.credentials = GoogleCredentials.get_application_default()
drive = GoogleDrive(gauth)

# Download du fichier
id = '1Pl-GxINYFcXL2ASaQjo_BFFiRVIZUObB'
downloaded = drive.CreateFile({'id': '1Pl-GxINYFcXL2ASaQjo_BFFiRVIZUObB'})
downloaded.GetContentFile('sample1000.csv')
Here it is, the file is now present in the Collaboratory environment. You have noticed … no need to specify the directory, the ID allows Google to find it wherever it is in your Drive.
You just have to read it as usual with Pandas for example:
pd.read_csv('sample1000.csv').head()
Be careful before anything else you will have to install the PyDev library. This is done via the pip command directly in a cell of the notebook. For example, you can add this command line at the start of the previous code:
!pip install -U -q PyDrive
Upload a file from Collaboratory -> Google Drive
Now that you can work with your data, you will probably want to get the results of your work (your predictions for example).
For that this portion of code will help you:
from pydrive.auth import GoogleAuth
from pydrive.drive import GoogleDrive
from google.colab import auth
from oauth2client.client import GoogleCredentials

# 1. Authenticate and create the PyDrive client.
auth.authenticate_user()
gauth = GoogleAuth()
gauth.credentials = GoogleCredentials.get_application_default()
drive = GoogleDrive(gauth)

# 2. Create & upload a file ()from here to Google drive) text file.
uploaded = drive.CreateFile({'title': 'sample1000_resultat.csv'})
uploaded.SetContentString('Contenu du fichier ici :-)')
uploaded.Upload()
print('Uploaded file with ID {}'.format(uploaded.get('id')))
And that’s what you get your foot in with this tool.
Please feel free to share your thoughts with me in the comments below.